
Get Inspired
Discover the latest fashion trends and beauty secrets to help you create your own unique style that will stand out from the rest.
Explore our Categories
With a diverse range of topics, from makeup tutorials to wardrobe essentials, we have something for everyone to enhance their personal style.
Empowering Women
At Katie Brown blog, we believe that fashion is a powerful form of self-expression.
Welcome to Katie Brown Blog
Inspiring Women Through Fashion and Beauty
At Katie Brown Blog, we are passionate about all things fashion and beauty. From the latest trends to timeless classics, we believe that fashion is a powerful form of self-expression.
Explore Our Diverse Categories
Discover the latest fashion and beauty trends with our in-depth articles and expert advice. From makeup tutorials to wardrobe essentials, we have everything you need to enhance your personal style and boost your confidence.
Join the exclusive Katie Brown community now and elevate your fashion and beauty game with our expert tips and insider secrets.
Discover our Services
Explore our diverse categories, featuring in-depth articles and expert advice designed to enhance your personal style and boost your confidence.
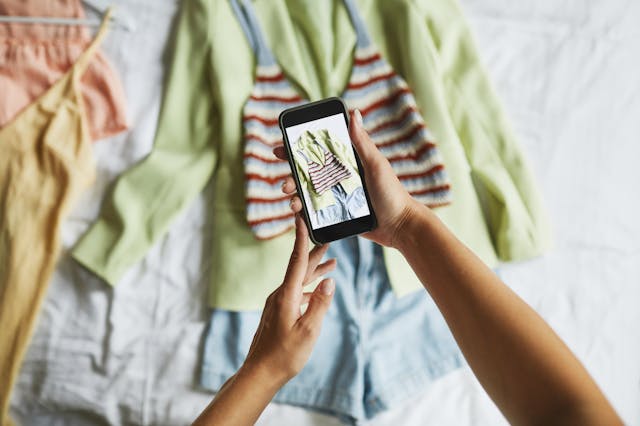
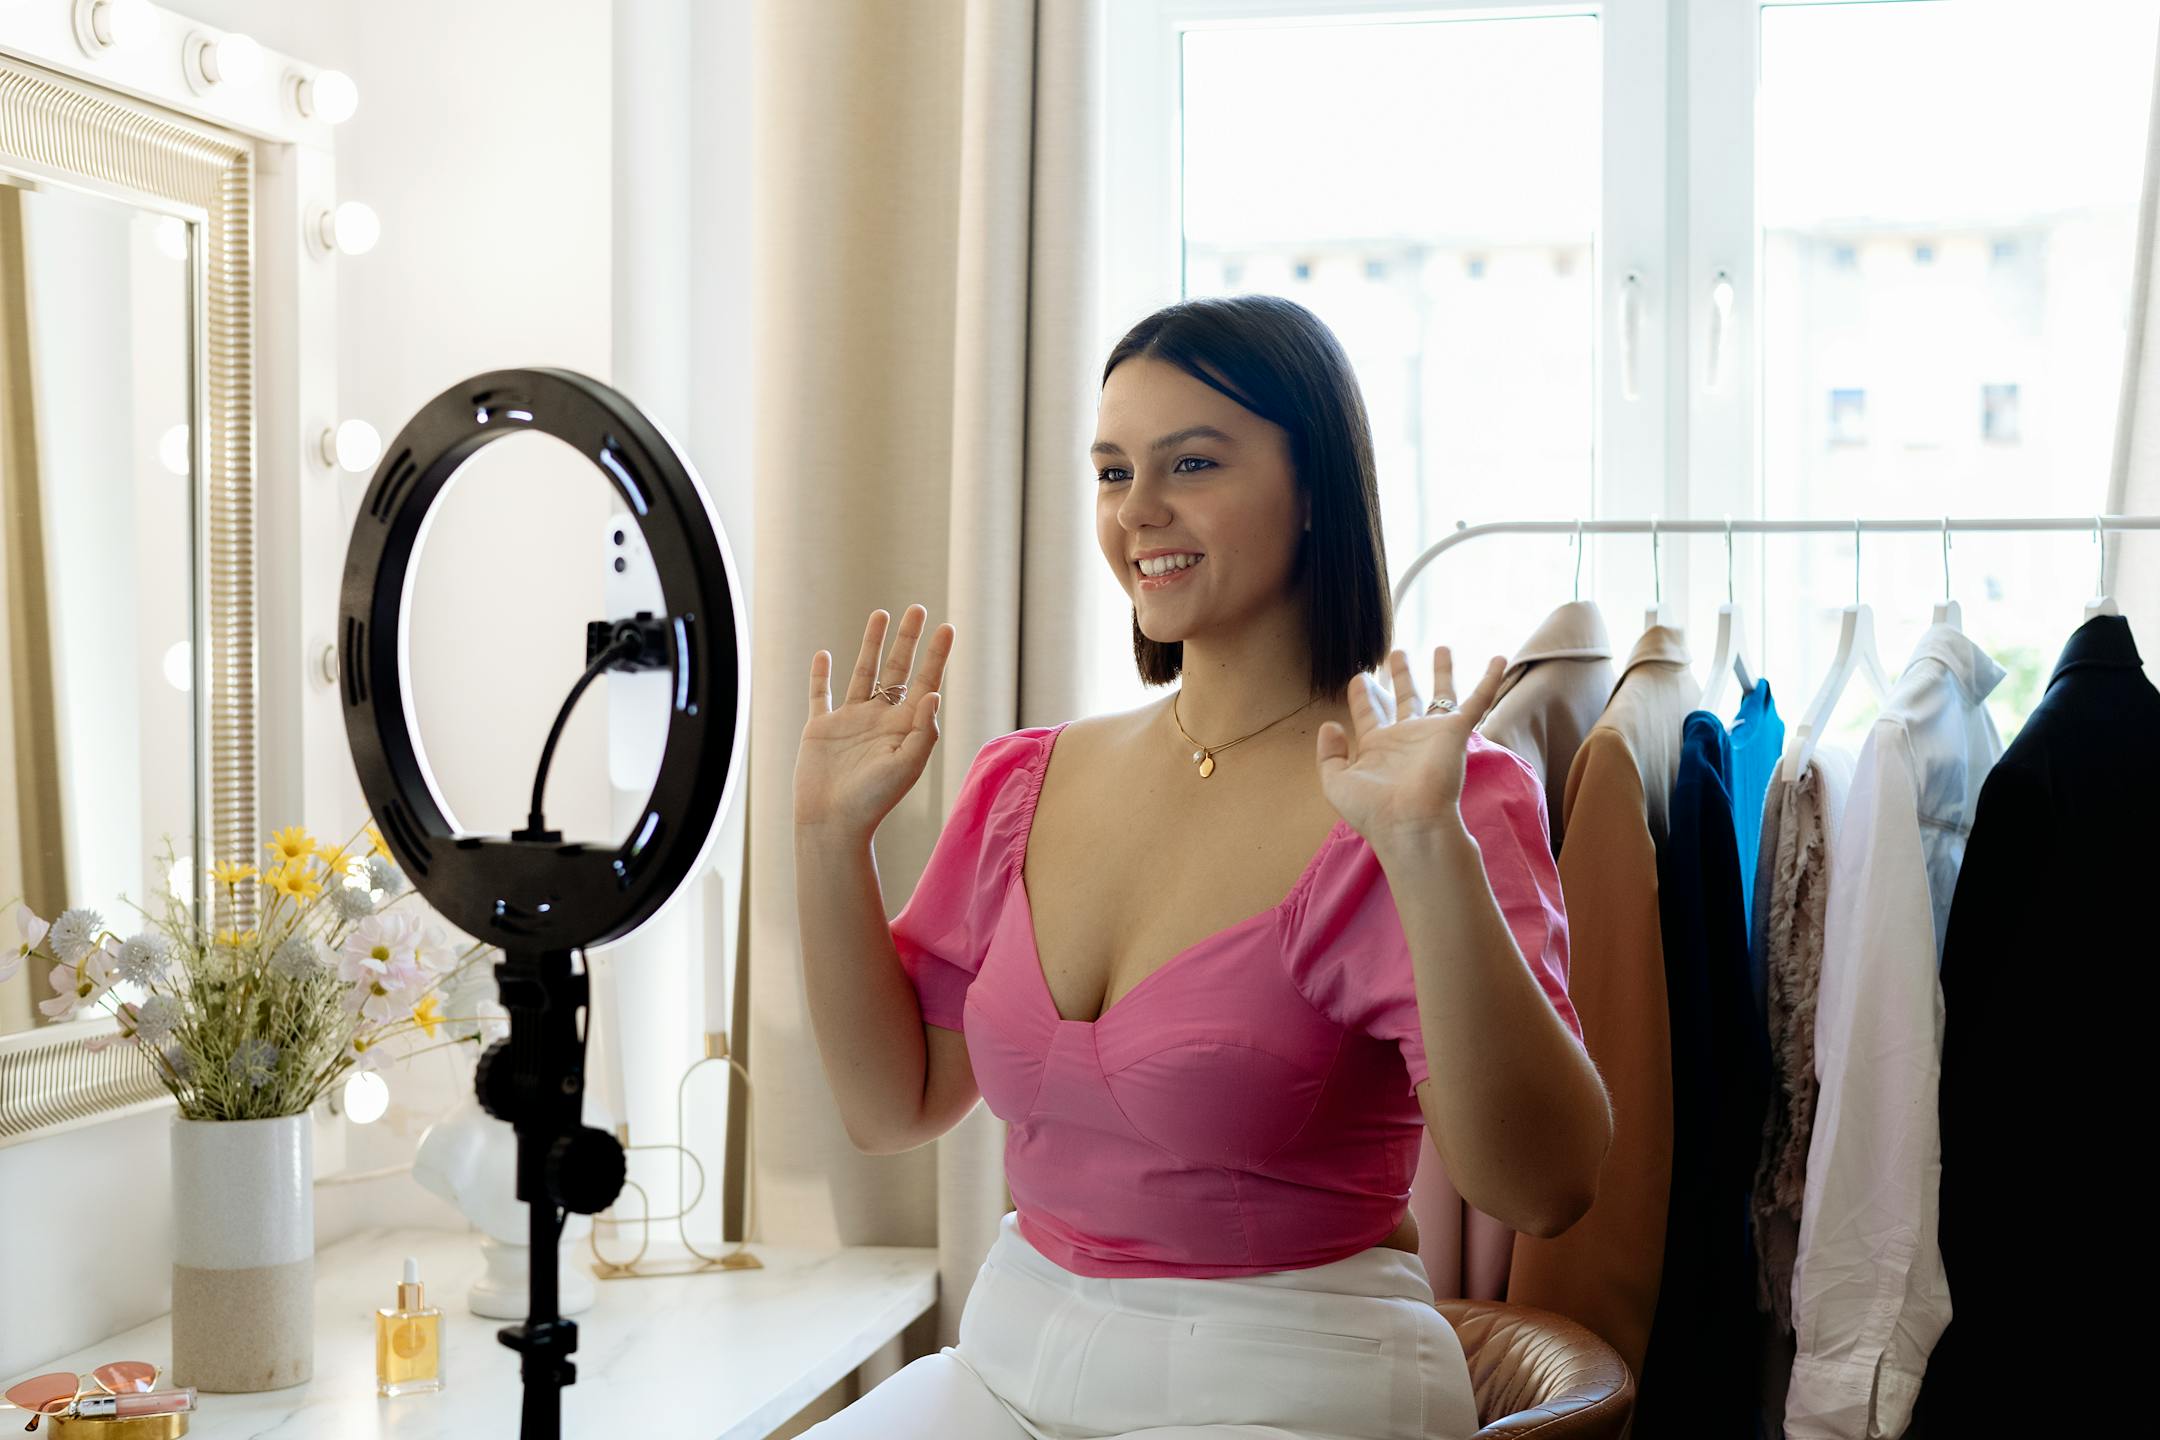
Fashion Trends
Stay ahead of the fashion curve with our coverage of the latest trends straight from the runway.
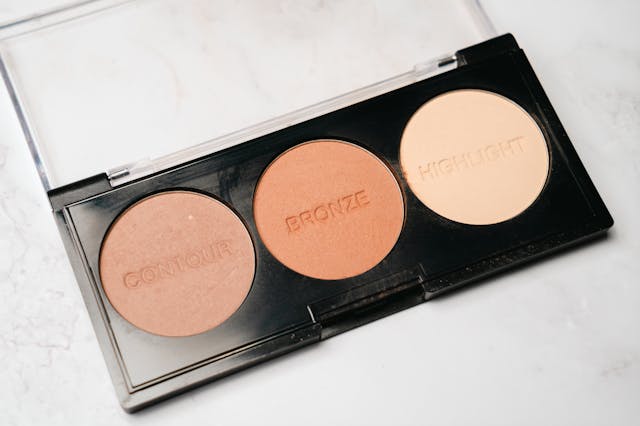
Makeup Tutorials
Add some glam to your routine with our step-by-step makeup tutorials for all occasions.
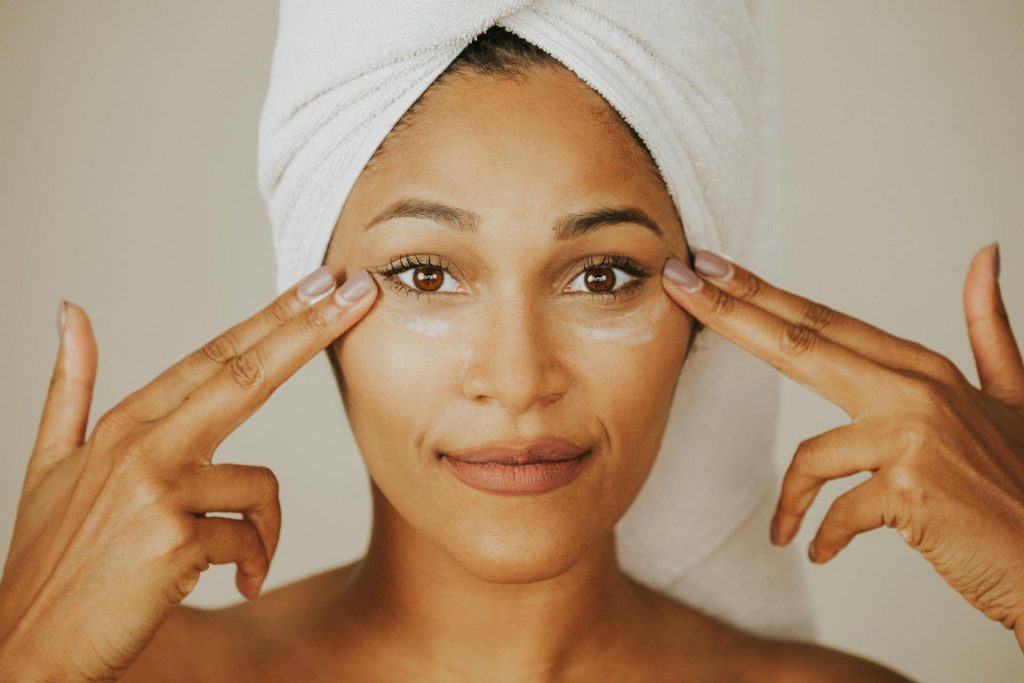
Beauty Secrets
Get insider tips and tricks for flawless skin and expert recommendations on the best beauty products.
Years of Fashion Experience
15 Years
Award-Winning Looks
10+
Events Covered
100+
Empowered Women
1000+
Recent blog posts
Stay up-to-date with the latest fashion and beauty news, trends, and tips by reading our blog posts.